


Part One: Test Environment Creation Using Windows Subsystem for Linux (WSL)
What is Windows Subsystem for Linux (WSL)?
Introduced in 2016 for Windows 10, the Windows Subsystem for Linux (WSL) was initially designed as an emulator to run Linux binaries within a Windows environment. However, on release, it had limited use for penetration testing due to poor support for features such as networking. In May 2019, WSL2 was released as an improved version of its predecessor. This update significantly changed how WSL worked, converting it into a more lightweight virtual machine. However, the base version of WSL2 did not include a desktop environment and remained a command-line-based utility.Operating Systems Used by WSL
Several operating systems are available to be installed and run through WSL: Popular Distributions • Ubuntu (18.04 LTS, 20.04 LTS, 22.04 LTS, etc.) • Debian Enterprise Distributions • Oracle Linux (7.9, 8.5, 9.1) • openSUSE Leap 15.5 • SUSE Linux Enterprise Server 15 SP4 • SUSE Linux Enterprise 15 SP5 • openSUSE Tumbleweed Security Focused Distributions • Kali Linux Rolling Others are available through GitHub/Microsoft Store There is also functionality within WSL to import a Unix distribution from a tar file or create a custom Linux distribution for use in WSL. When installing WSL, the latest version of Ubuntu will be set up by default; however, the distribution can be changed to one of those listed above.Kali Linux
The presence of Kali Linux as one of the officially supported distributions for WSL is of most interest to us as penetration testers. It is a blank distribution like the versions available on AWS or Azure, which Kali supports. A guide for installing Kali Linux in WSL can be found here: Kali WSL | Kali Linux Documentation Even though the distribution does not contain any penetration testing tools, they can easily be installed using the Kali Linux metapackages.Limitations of Windows Subsystem for Linux
Before we go any further, there are some drawbacks to WSL which should be called out. The networking for the WSL virtual machine is set to use NAT during initialization, and there is no official support to change the networking type. Therefore, if you are trying to access the WSL virtual machine from an internal physical network, you will need to set up port forwarding in Windows. It should be noted that there is limited support for USB devices in WSL. While it is possible to pass USB drives through to the virtual machine, there is no official support for USB adapters such as Wi-Fi adapters. Virtualization software like VirtualBox or VMWare would be better if you need these two features for a penetration test. Otherwise, you can use WSL.Win-KeX
Kali created a software package called Win-KeX to provide the WSL distribution of Kali Linux with a desktop environment. This can be installed using the guide available here: Win-KeX | Kali Linux Documentation. When installed, three different modes can be used to provide different desktop experiences: Window Mode: This mode opens a VNC window into Kali and provides a full desktop experience.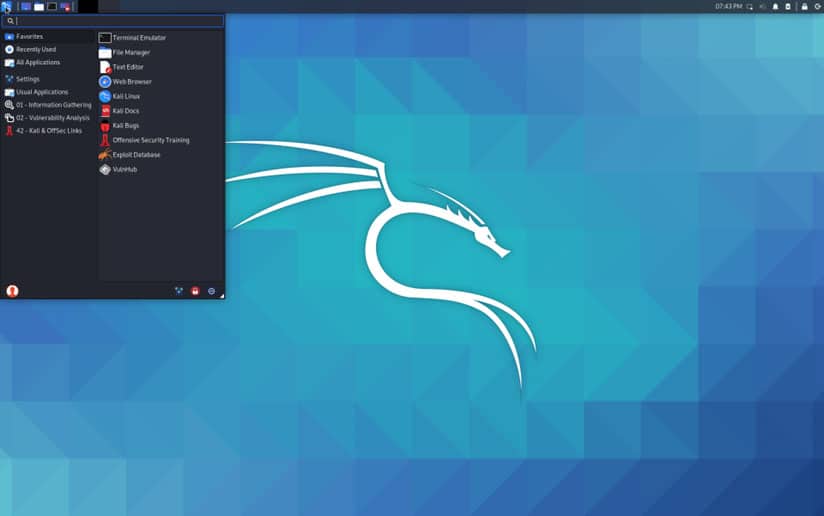
Figure 1. Screenshot showing Win-KeX open in Window mode
Seamless Mode: This mode creates an overlap between Windows and Kali Linux; it places the Kali taskbar at the top of the screen to share the Windows desktop between Windows and Kali applications.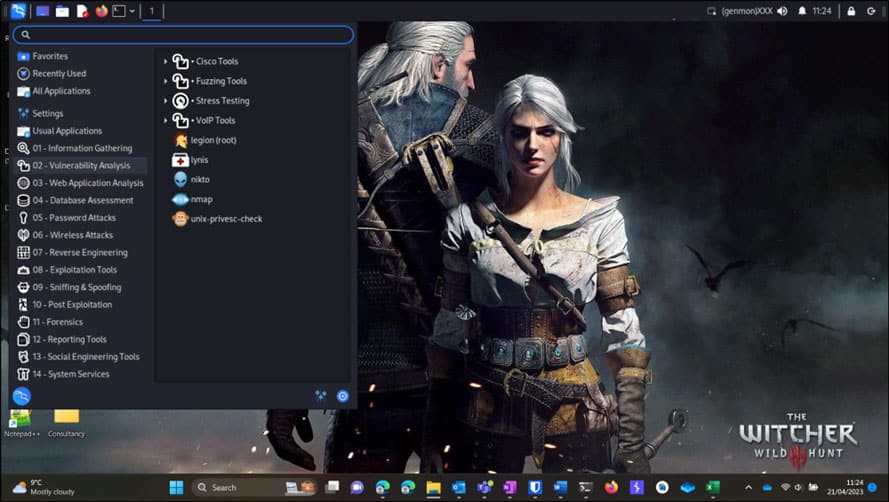
Figure 2. Screenshot showing Win-KeX open in Seamless mode
Enhanced Session Mode: This mode makes use of protocols and clients that are natively installed in Windows; it opens an RDP window into the Kali virtual machine. It is designed for systems that are running Windows on ARM architecture.
Figure 3. Screenshot showing Win-KeX open in Enhanced Session Mode
Windows Integration
Windows built integration between WSL and Windows into the core experience of WSL distributions. As part of this, the file system for either the WSL virtual machine or the host Windows system can be accessed from the other system. There is no need to create a shared folder to share files between the host and guest systems. Inside the WSL distribution, the Windows file system can be accessed from the /mnt folder, as seen below.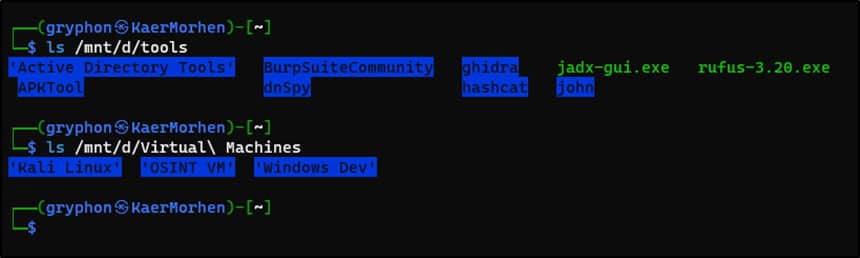
Figure 4. Inside the WSL distribution, the Windows file system can be accessed from the /mnt folder
Meanwhile, Windows 11 has a network shortcut in Windows Explorer to access the WSL file system. In Windows 10, the file system can be accessed by typing \\wsl$ in the address bar of Windows Explorer.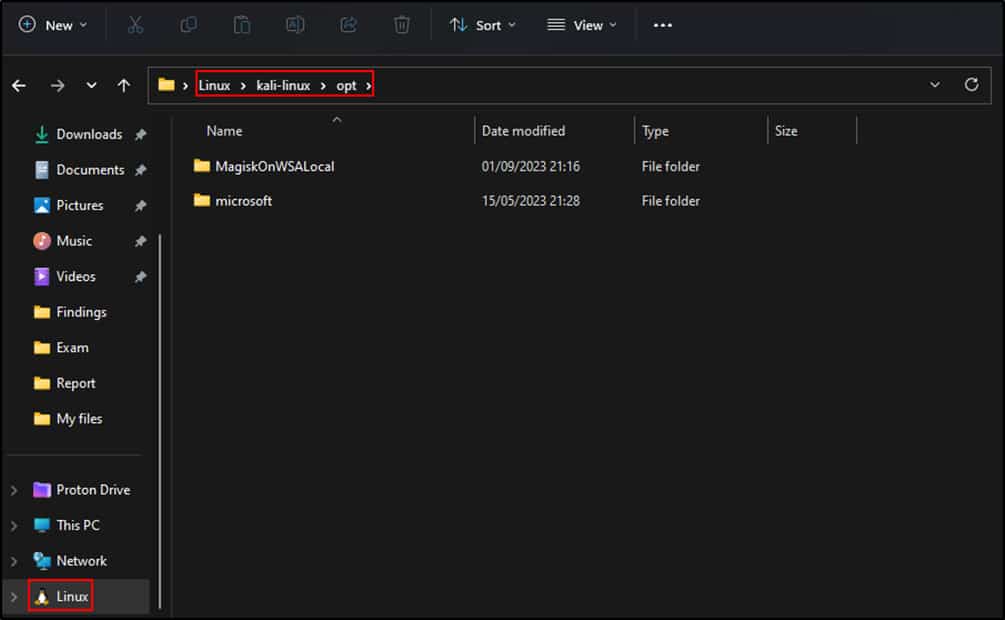
Figure 5. In Windows 11, you can access the WSL file system through a network shortcut in Windows Explorer.
WSLg
Windows has also recently introduced a feature into WSL called WSLg, which supports running Unix GUI applications on Windows in an integrated desktop environment using X11 and Wayland. This allows users to access tools in Kali Linux that run a GUI interface straight from inside Windows. These tools can be run straight from the start menu or Windows search bar.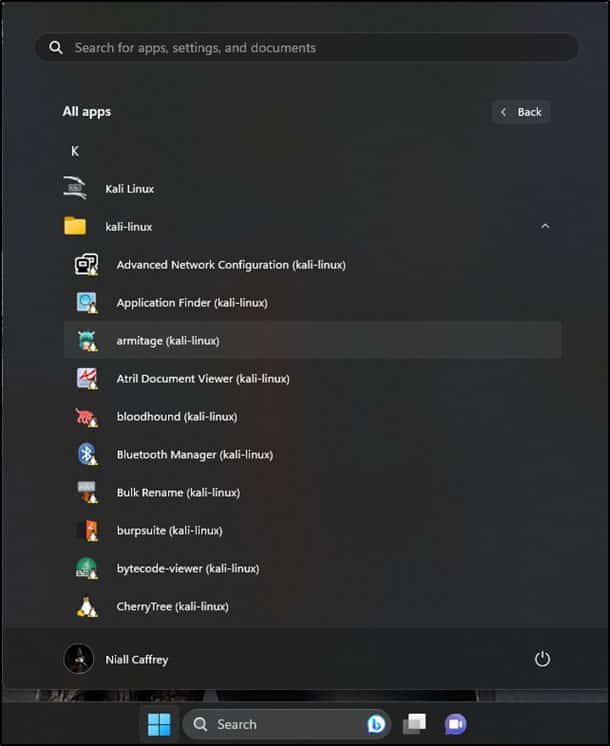
Figure 6. Screenshot showing that we can access several tools straight from the start menu.
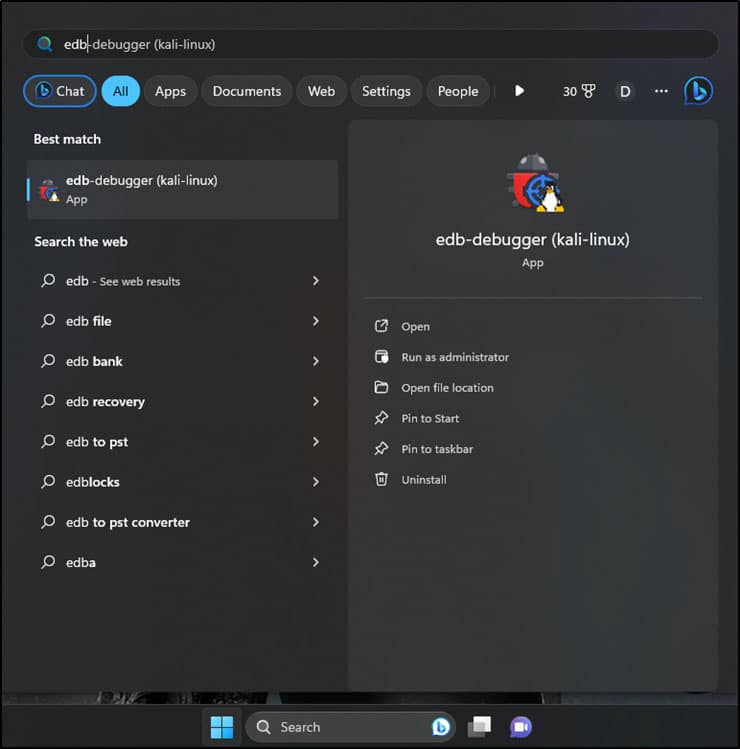
Figure 7. The screenshot shows that we can search for Kali Linux tools in the search bar.
Network Scanning
We can perform network scanning inside WSL by utilizing tools such as masscan, nmap, unicornscan, etc., that are installed as part of the Kali metapackages.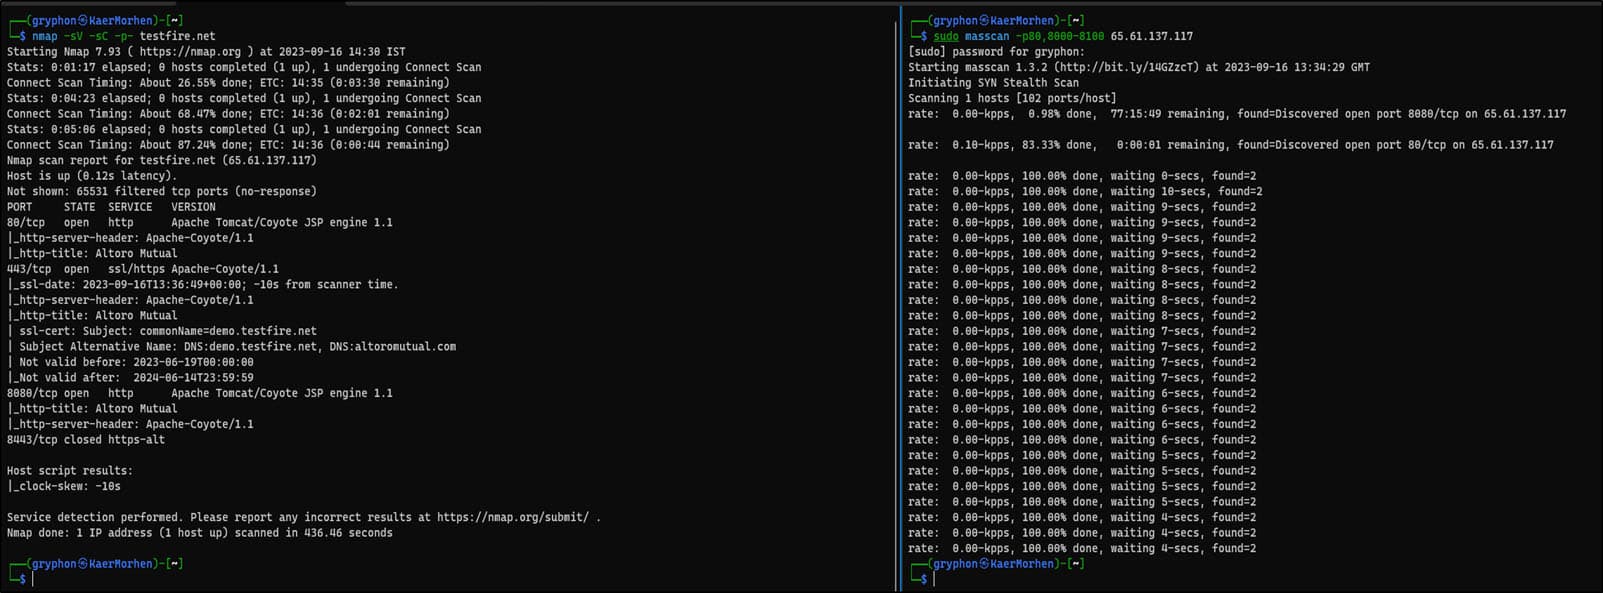
Figure 8. The screenshot shows that we can run tools such as nmap or masscan
Application Testing
We can also perform testing against web applications by utilising tools such as DirBuster or Burp Suite that are installed as part of the Kali metapackages.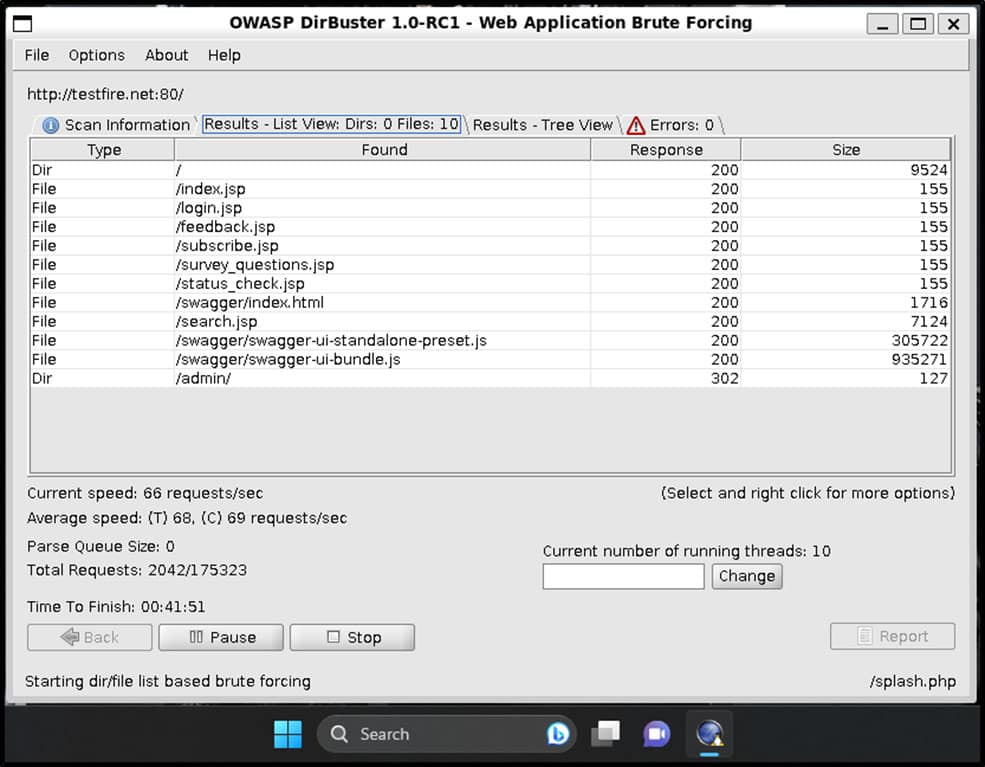
Figure 9. The screenshot shows that we can run tools such as DirBuster
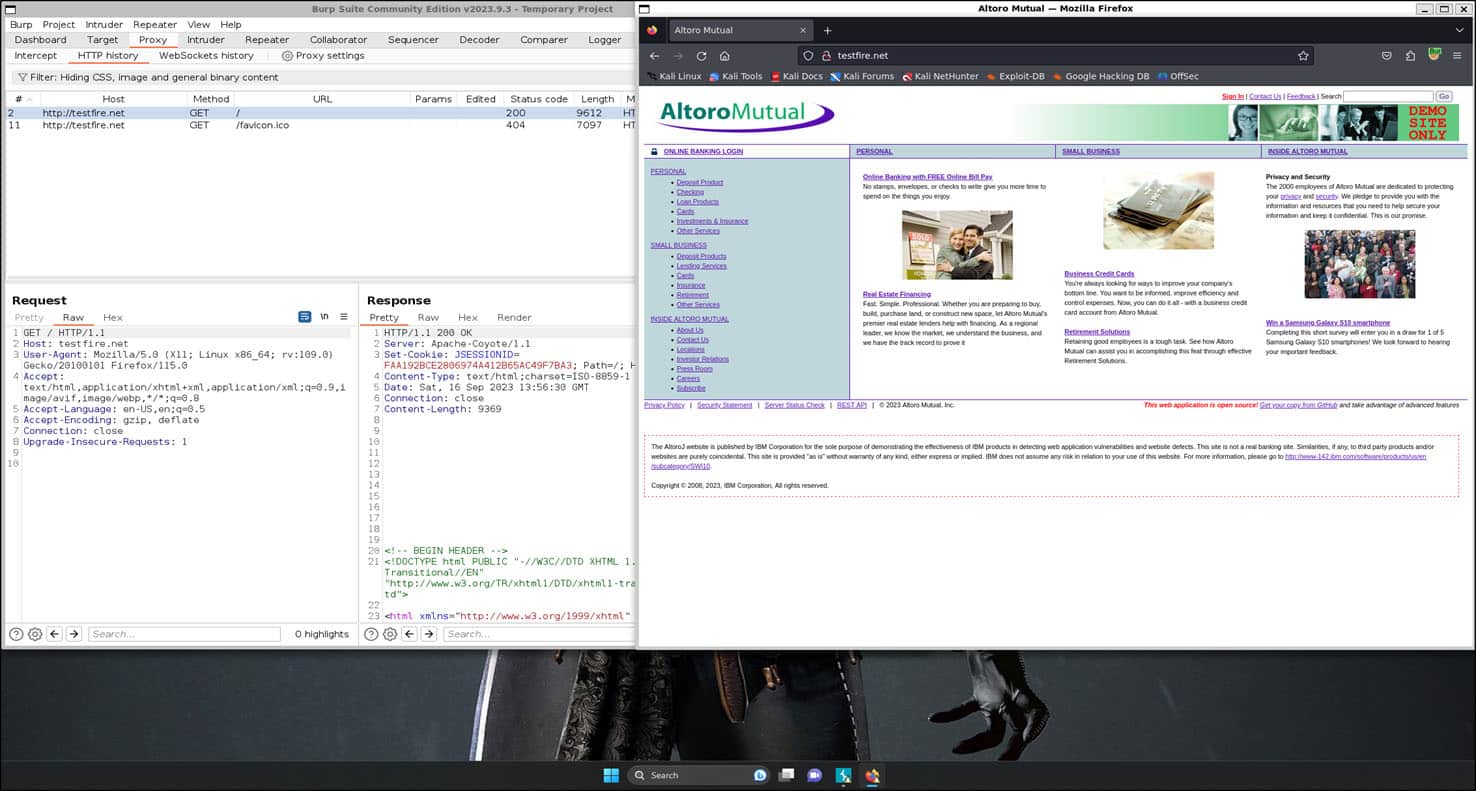
Figure 10. The screenshot shows that we can perform web application testing using tools such as Burp Suite
Non-Default Tools
In addition, we can also access and use tools that are not installed in Kali Linux by default, such as BloodHound, a tool for viewing active directory domain information in a graph format.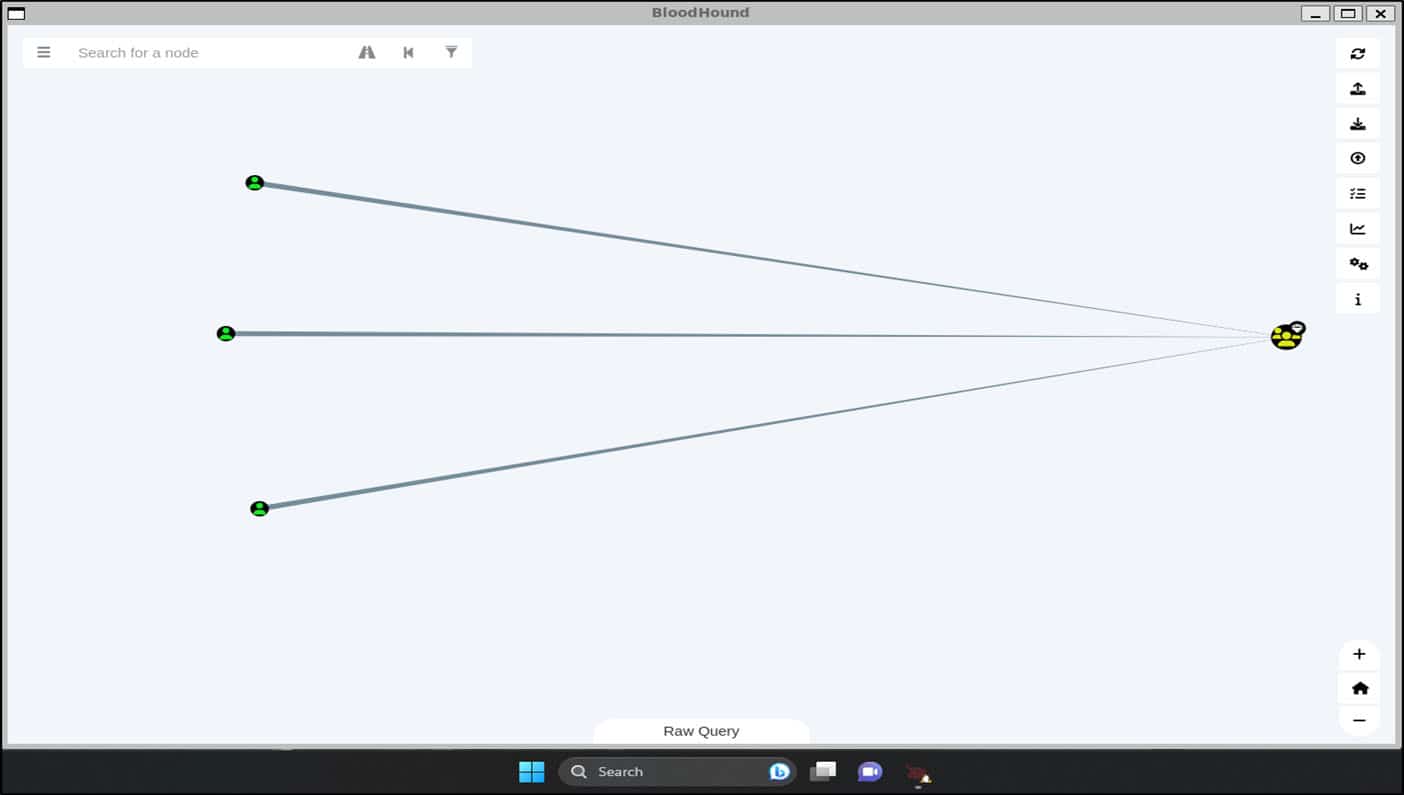
Figure 11. The screenshot shows that we can use non-default tools like BloodHound